The Editor
The Editor is where you do all the actual image manipulation. I like to explain its use in 2 different ways. One is for photographers that are primarily interested in tweaking photos. And the other is for image makers that want to create composite images with photos, colors, text etc. Making a poster or flyer would be an example of a composite.
Click the Editor button when you have a photo selected in the Organizer and the Editor will launch in one of two ways. It depends upon the file's format. Is it a camera RAW file? Then the Adobe Camera RAW interface will come up before the Editor's will. Is it a JPG? Then the Editor interface will come up at once.
Camera RAW
This is a hugely powerful way to edit files from the camera. It is the primary editing tool in Lightroom and PS but only for RAW images.
Interface for Camera RAW
Discuss raw vs. jpg here.
This may be all you need for some photos. For more detailed adjustments click Open Image and enter the PSE Editor.
Note this image shows the current (2013-08 v .8.1) version of Camera Raw that ships with the full version of Photoshop...there are some major tools that are not present in Elements' version 7.4.
Interface for the Editor
Forget the "Quick" tab. If you use that you might as well have saved your money.
Use the "Guided" tab only if you forgot how to do something.
Use the "Expert" tab. It is poorly named. You don't have to be an expert. You just have to be able to click, drag and remember some things.
Photo Tweaking Tools
For photo tweaking you'll use these tools and can usually ignore the others. Hover over a tool and you will find the name and the keyboard shortcut to select it.
- Hand and Magnify to start and tool options - Menus are another way and try using the Option key on any tool to change to the opposite result
- Crop
- Straighten
- Recompose (maybe)
- Text (maybe) - This creates a "layer" see below.
- Move
- Blur/Sharpen
- Healing Brushes
- Selection Tools
Enhance Menu
- Auto enhancements (maybe)
- Adjust Lighting
- Shadows/Highlights
- Brightness/Contrast
- Levels
We will cover these items from the Enhance Menu at the end if there is time.
- Convert to Black and White
- Adjust Sharpness or Unsharp Mask (two ways to do the same thing)
- Photomerge HDR (Exposure):
- First select the source images in the Organizer. Note: these must be taken on a tripod with impeccable technique as there is no alignment function.
- Then move to the Editor. RAW images will come up one by one in the Raw editor and you will have to click the Open Image button.
- Then choose Enhance Menu > Photomerge for Exposure.
- Play with the highlights, shadows, and saturation sliders.
- Close the window when it is done and it will prompt you to save.
- Photomerge Panorama:
- First select the source images in the Organizer.
- Then move to the Editor , RAW images will come up one by one in the Raw editor and you will have to click the Open Image button.
- Show the Photo Bin and select again.
- Then choose Enhance Menu > Photomerge for Panorama.
- Click Add Open Files and your Layout choice (probably Auto)
- Your Panorama will open as a new document.
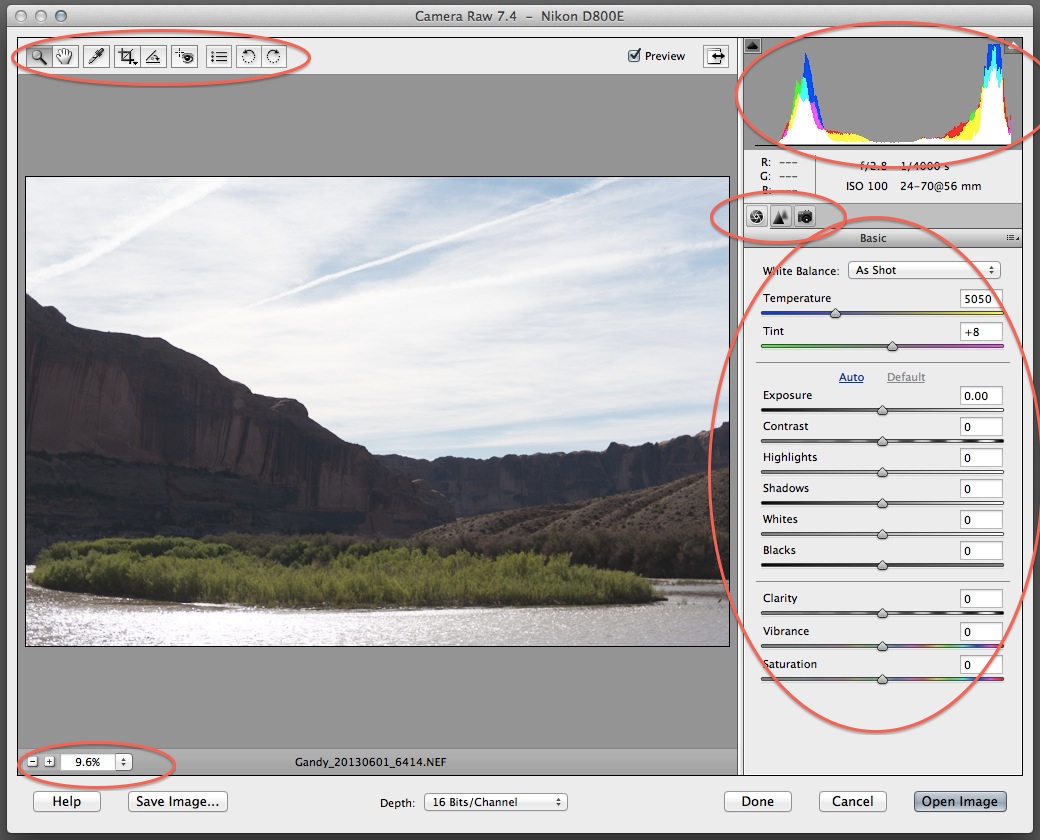
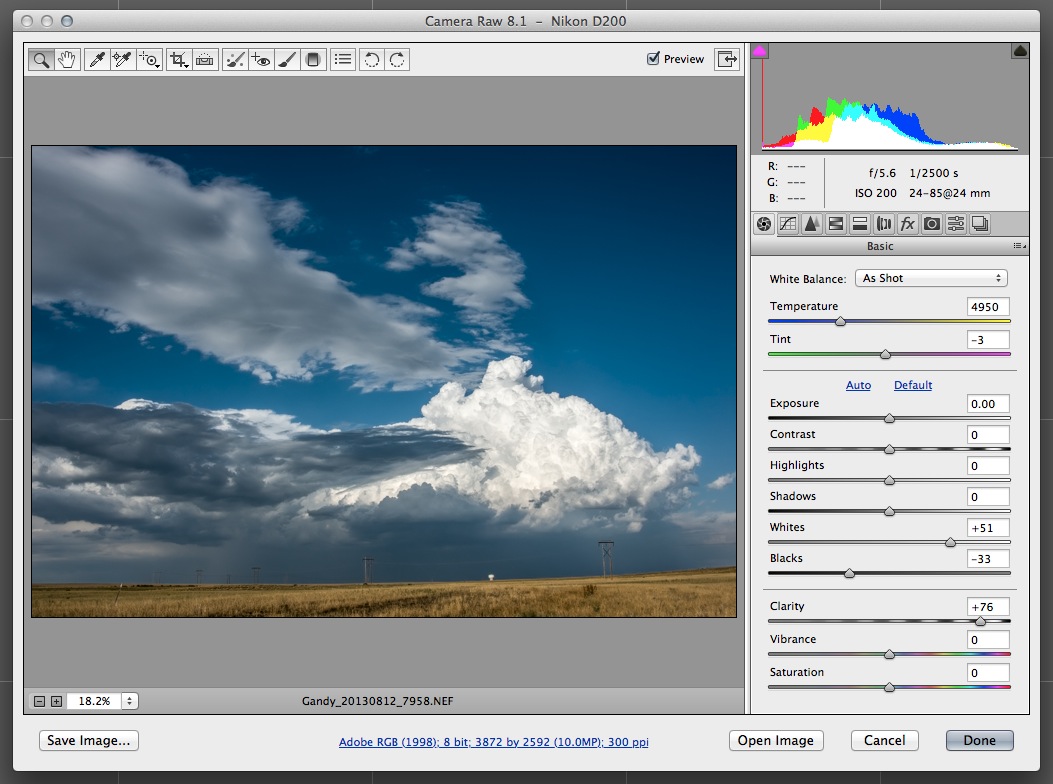

Photo Tweaking Layers and Masks
- Levels
- Brightness/Contrast
- Hue/Saturation
- Photo Filters
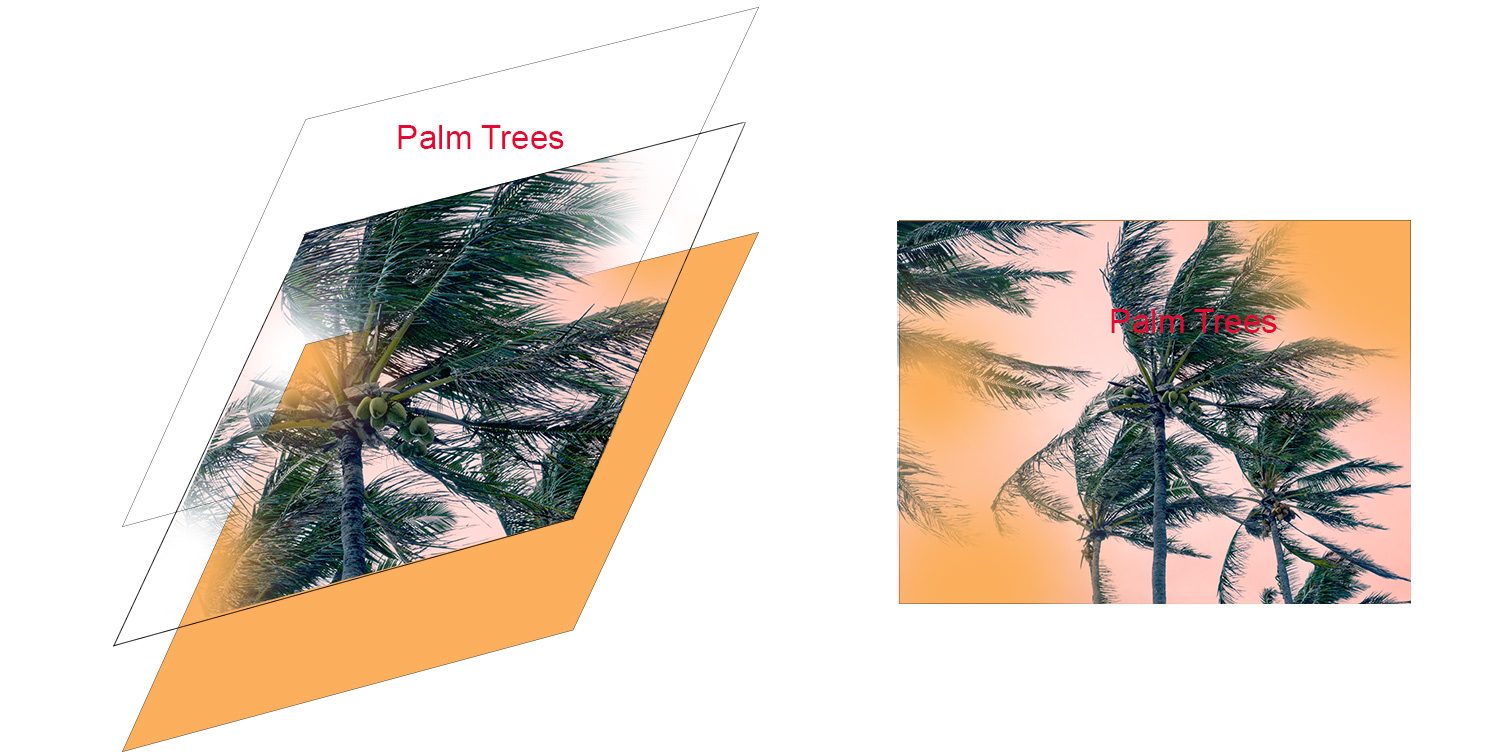
This image shows how 3 layers with different information might interact to create a flat image. Layers that just adjust the lighting like Brightness/Contrast just allow their effect to all the information that is visible from the layers below.
Photo Tweaking Filters and Effects
- Blurs
- Artistic Renderings
- Correct Camera Distortion
Image Menu
- Resize
- Transform
- Magic Extractor Tool (maybe)
You already know most of what you need to do composites. There are just a few more layer skills you need.
You and download the example file here.
- Place images from other files
- Select and Move
- Re-name
- blending modes
- Opacity
- Arrange
- Merge
- Flatten