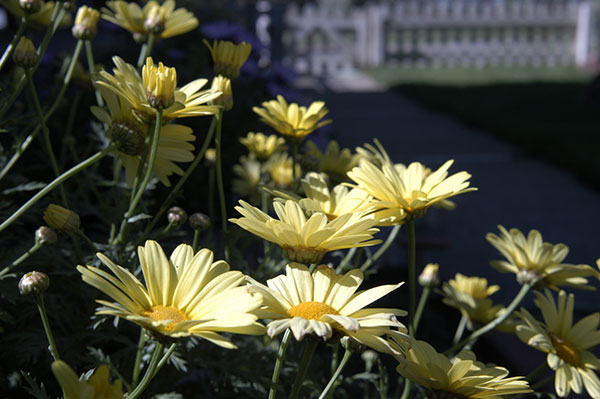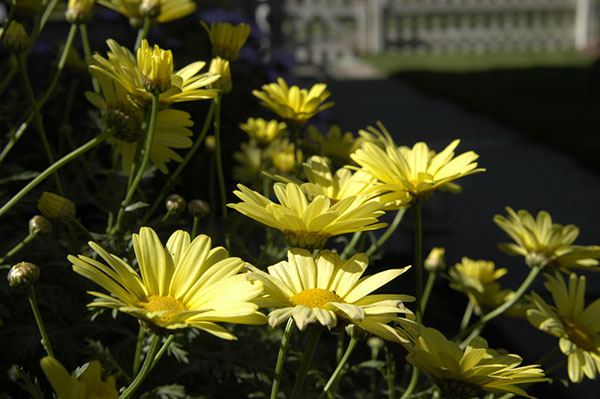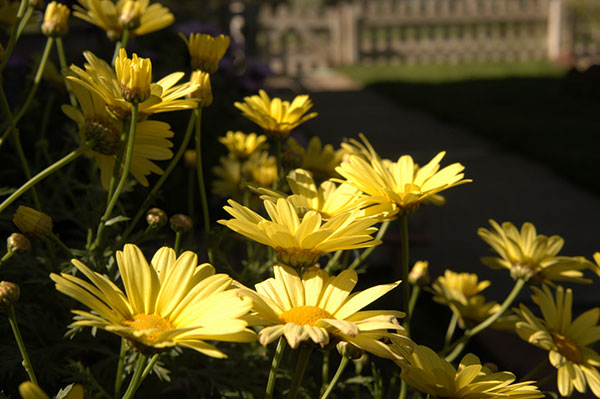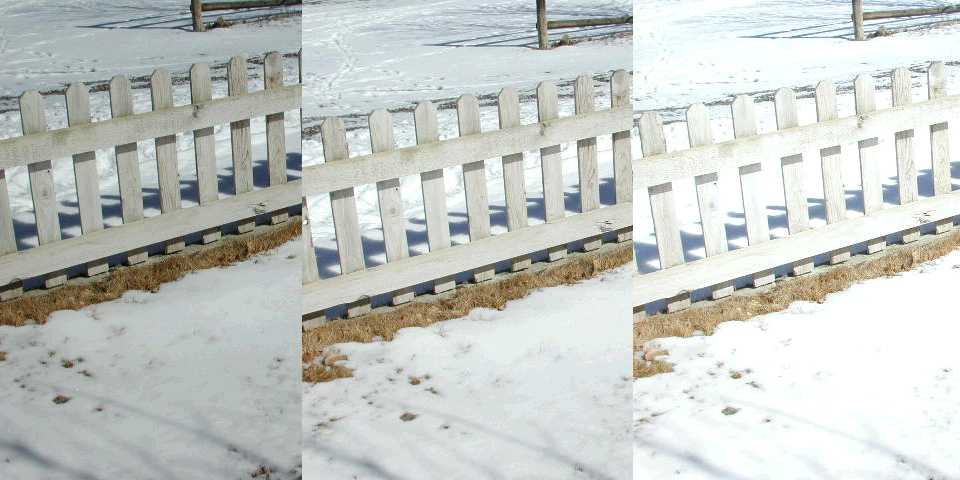

Soft and hard
light examples
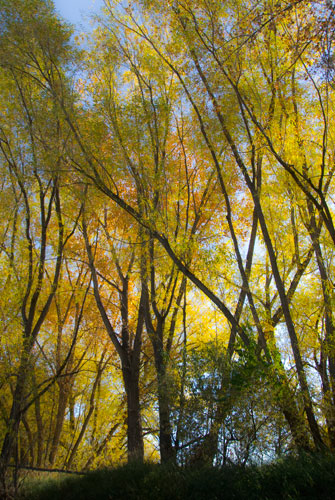
Back Light and
Fill Flash
Focus
...
Keep your subject
in focus! It defines the image.
Some cameras have
continuous focus for moving subjects.
The Aperture setting
(f-stop) can affect the depth of field (how much of the photo appears in
focus). Small f-stop numbers, mean large openings, mean
Low contrast can
confuse the auto-focus feature. Learn how to compensate with manual focus
or other techniques.
There may be controls
for setting and holding focus on the camera then recomposing the shot. Your
manual has the details.
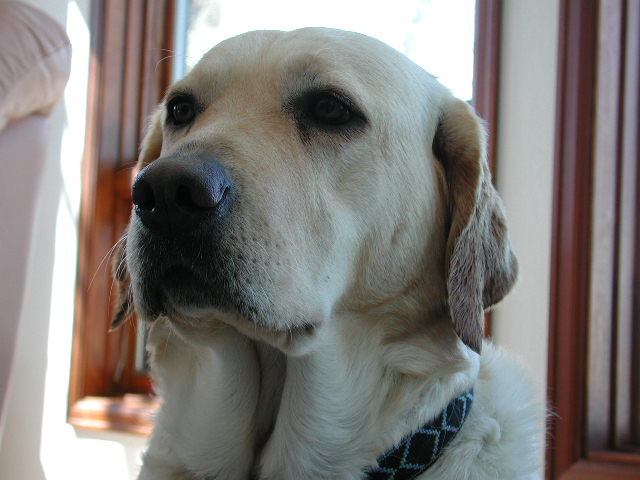
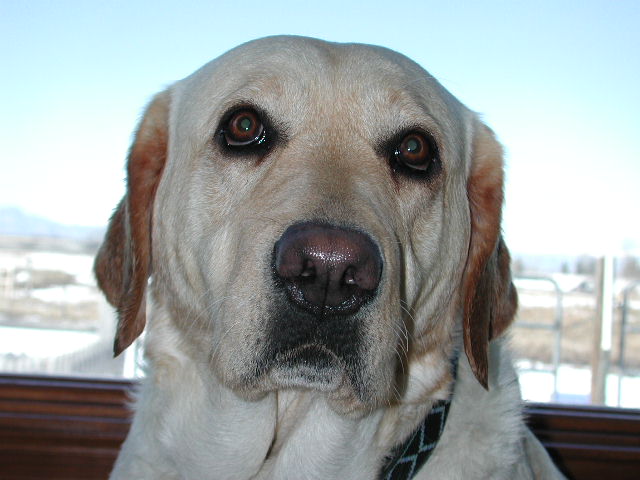
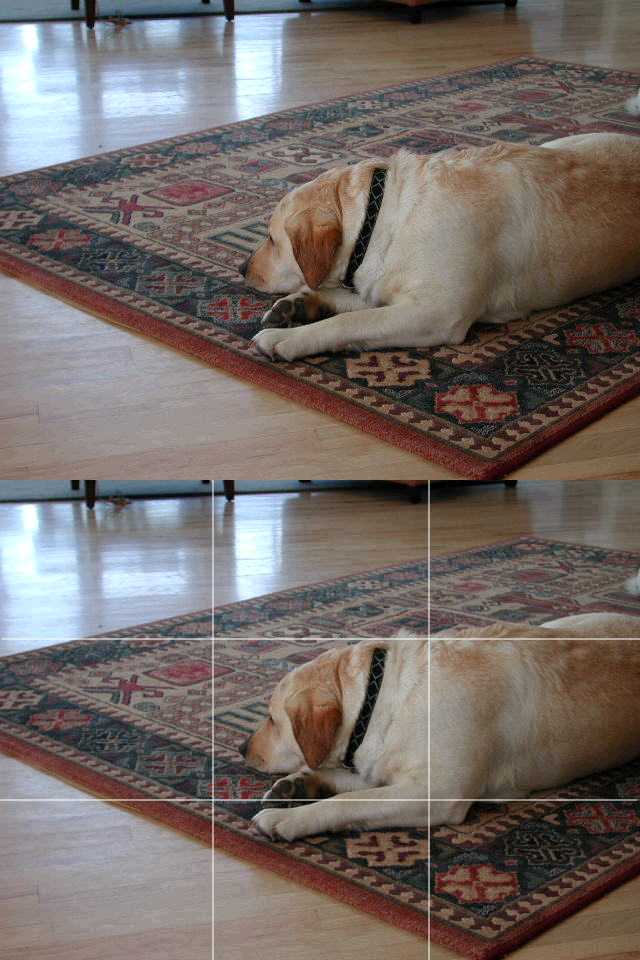
Focus on the closest
eye for portraits. If the eyes are not sharp, the portrait will be sub-par.
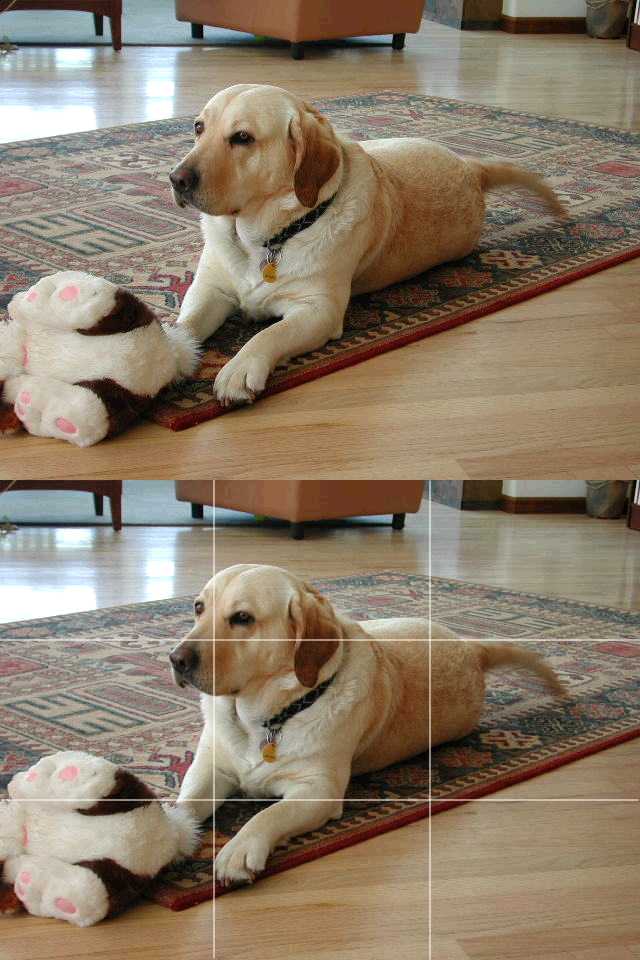
Depth of Field
f / 1.4 shallow depth-of-field |
f/ 16 wide depth-of-field |
|
|
Composition
...
All rules are made
to be broken.
Light is really the subject... think about quality, direction, and shadows too.
KISS, can your subject
be described in a simple sentence?
Watch out for distracting
backgrounds. Watch out for "tunnel vision."
Camera angle can
make a big difference. Take photos of children from their eye level.
Move closer, fill
the frame
Rule of Thirds can
help you aim your camera.
Let something in
the environment frame the shot.
Leave space for
"movement."
Contrast or contrasting
colors. Convert to b & w a highly contrasted image?
Patterns and Lines
can add depth and lead the eye.
Background Interference...
Angles...

Rule of Thirds...
Frame Your Subject

Camera
Settings and advice for different types of shots...
There are some smart settings
that are basic but will help you take shots in some challenging situations.
Some cameras have settings for situations like action, night, close ups
etc. but it is instructive to know what the camera is doing for those.
After all it is not magic, it is all exposure, shutter speed, aperture,
ISO settings and common sense. What is below are recommendations that
rely on assumptions about the shot and are certainly not to be taken as
gospel. They are not prescriptions to follow exactly but rather tips to
try.
Before reading the recommendations,
think about what you know about your camera's settings and which ones
might make sense.
ACTION - Think
fast shutter speed, 1/500 second or faster to stop the action. The faster
the action the faster the shutter speed you will need. You may need to
increase the ISO to enable a short shutter speed like this.
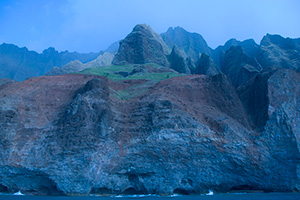
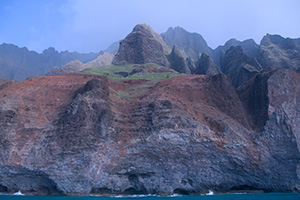
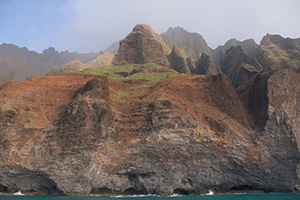
LANDSCAPE -
Traditional landscapes use a wide angle lens (less than 50mm), a smallish
aperture and a tripod. These will help with depth of field and sharpness.
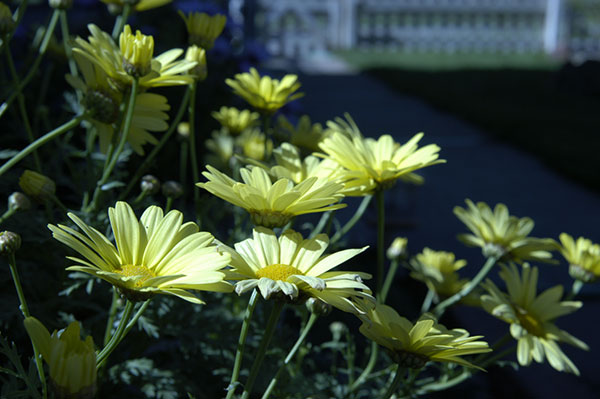
PORTRAITS -
A large aperture will blur the background. The traditional lens is 100mm.
Use a tripod if possible. Manual focus on the closest eye. A slight downward
angle will emphasize the eyes but a slight upward angle can make the chin
and neck look too prominent. Light coming from a big source like a window
is much nicer than hard direct light on faces.
BACKLIT SUBJECTS -
Use a fill flash to lighten the shadows. Use spot or center weighted
metering on the subject.
INDOOR LIGHTS -
Check your white balance. Indoor lights are often very warm. Use the incandescent
or tungsten setting to compensate. Use a high ISO or flash.
PEOPLE OUTDOORS -
Get closer. Get out of the direct midday sun. Use fill flash to lighten
shadows on faces.
PEOPLE INDOORS -
Get closer. Use flash on the slow sync setting to avoid black backgrounds.
Get the light off the camera.
NIGHT - Use
a high ISO but know your camera's limits when it comes to noise at those
settings. Use a tripod. Use a slow exposure to blur the moving lights.